13.10.15 — Journal
The K’nex Castle: Behind The Scenes
After posting the video of The K’nex Castle that me and my dad collaborated to create last week, many people have fed back with positive reactions, however almost everyone has asked the same thing: how did we do it?
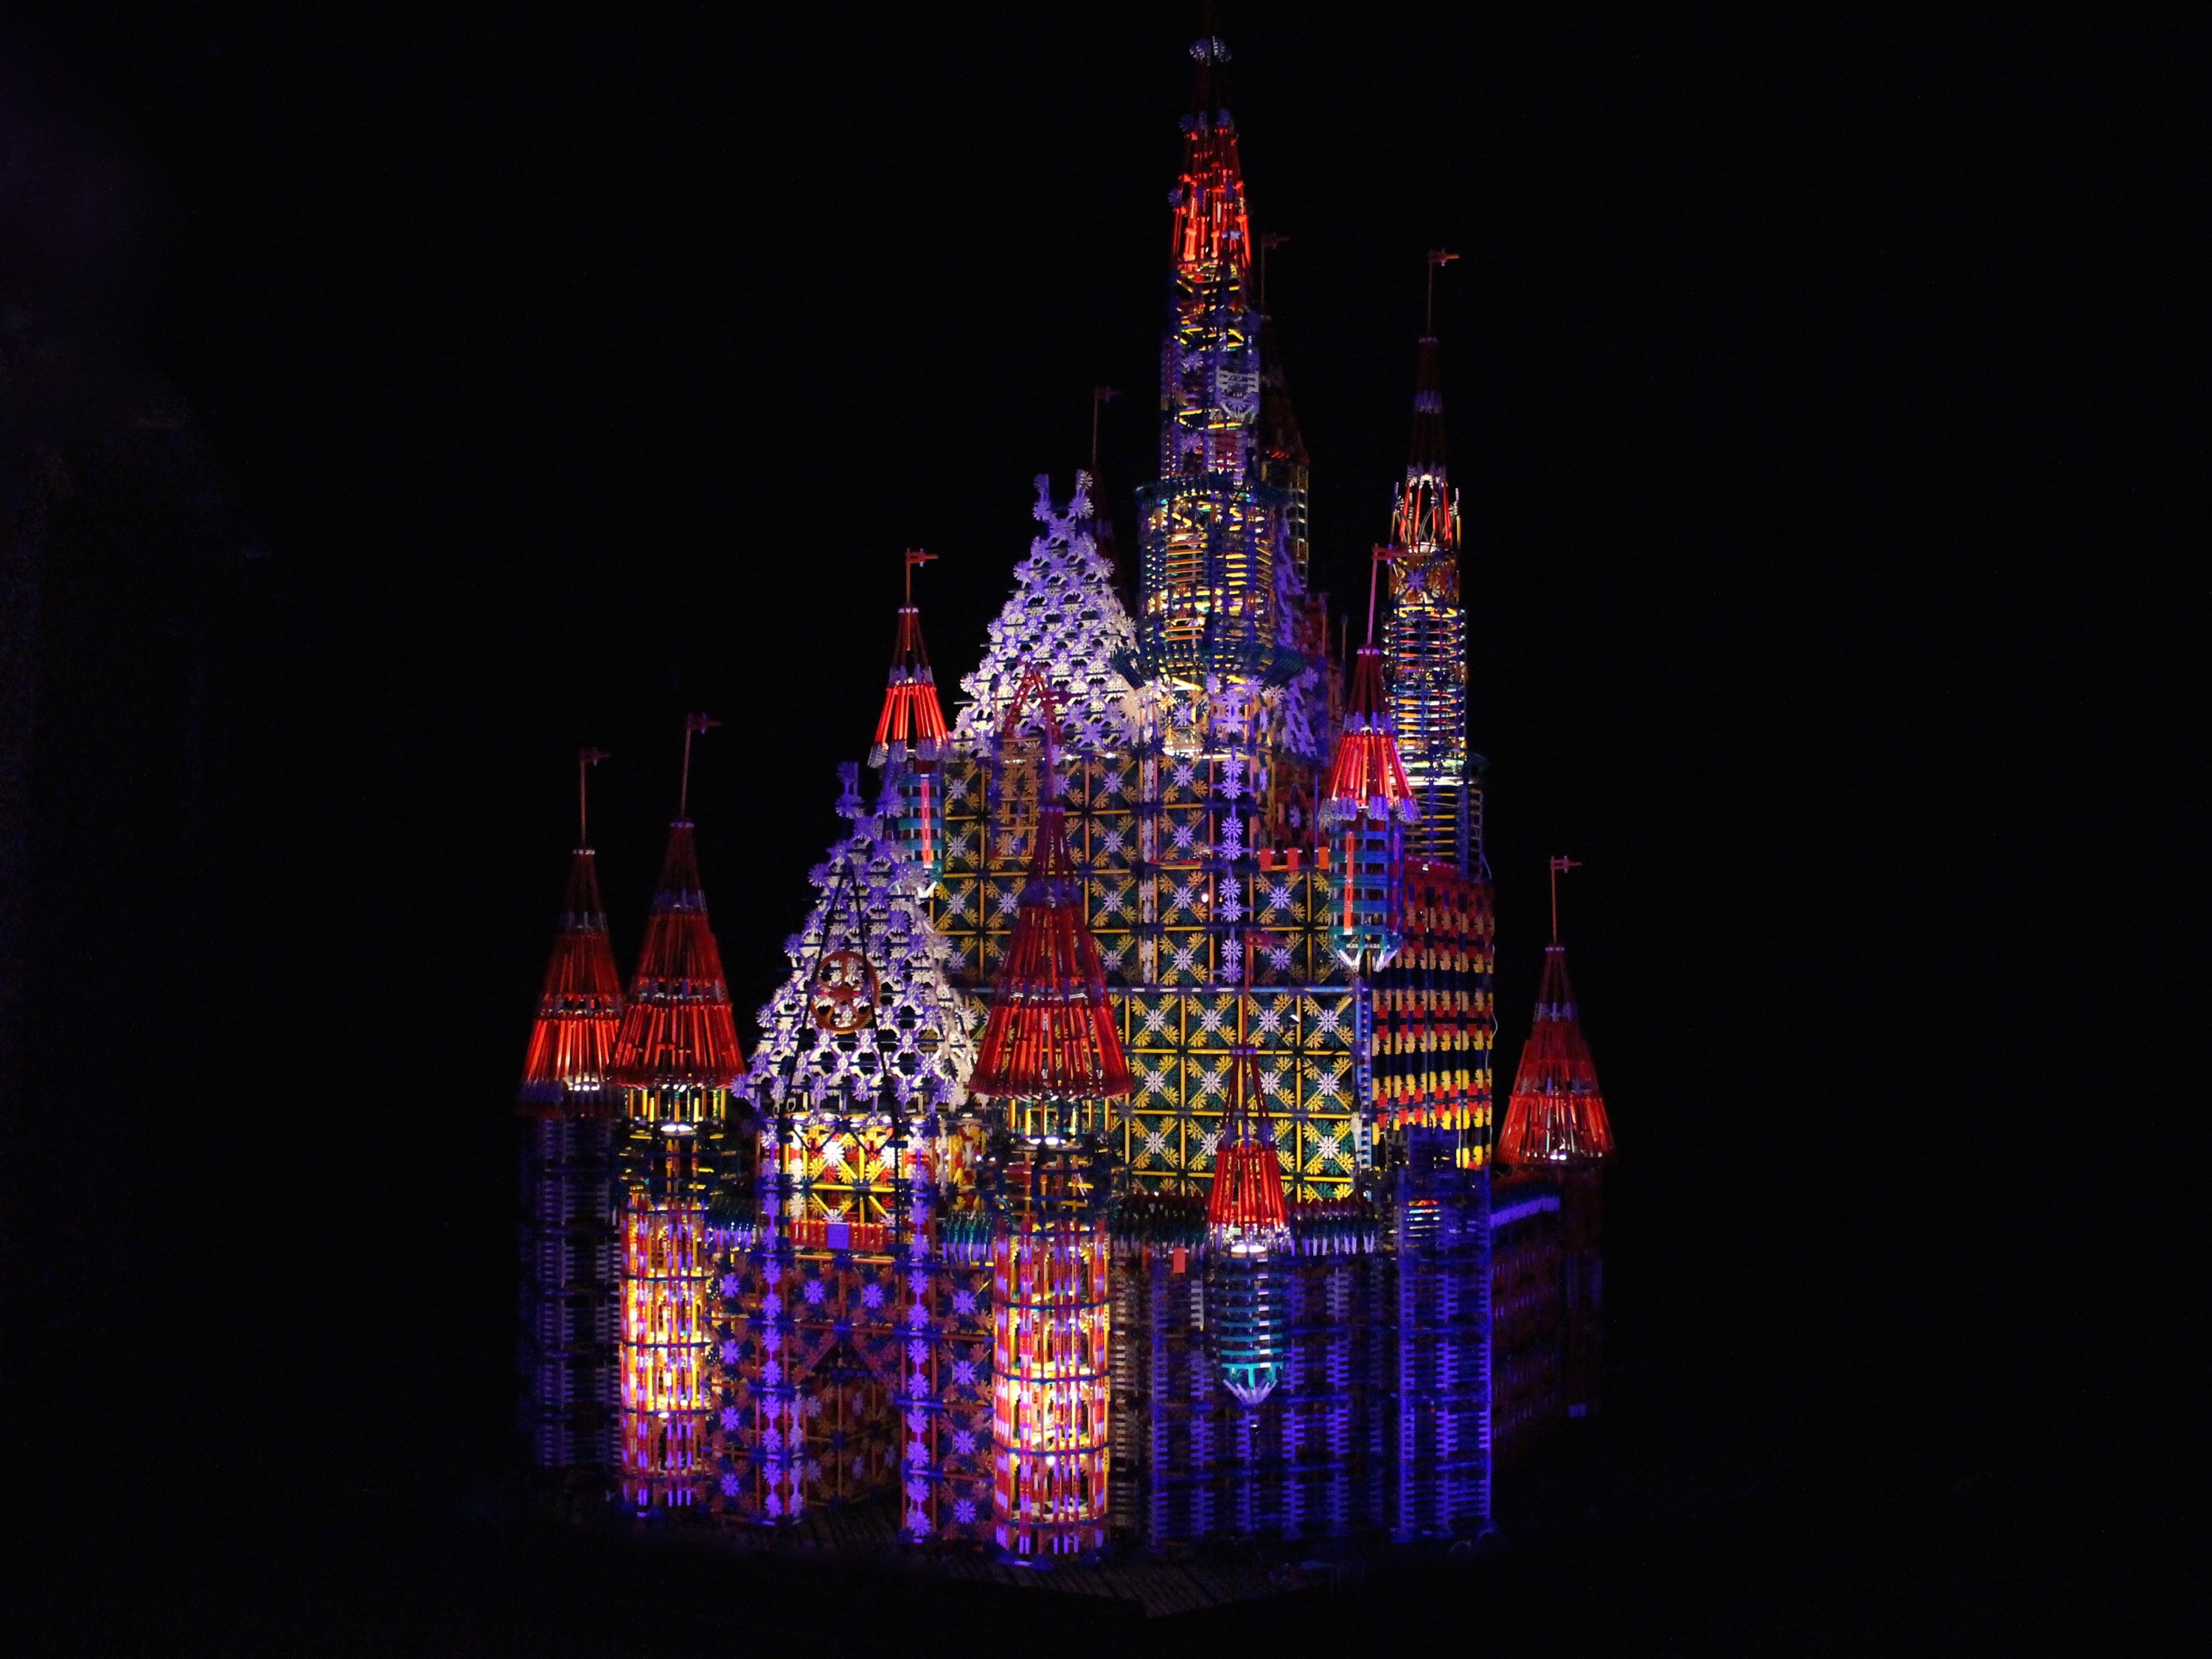
Well, firstly, time to clarify – this actually happened. No camera trickery, special effects or CGI were involved. The only post-processing was to restore the colour balance, add the soundtrack and overlay the titles. In brief: everything you see happened, and it happened in real-time.
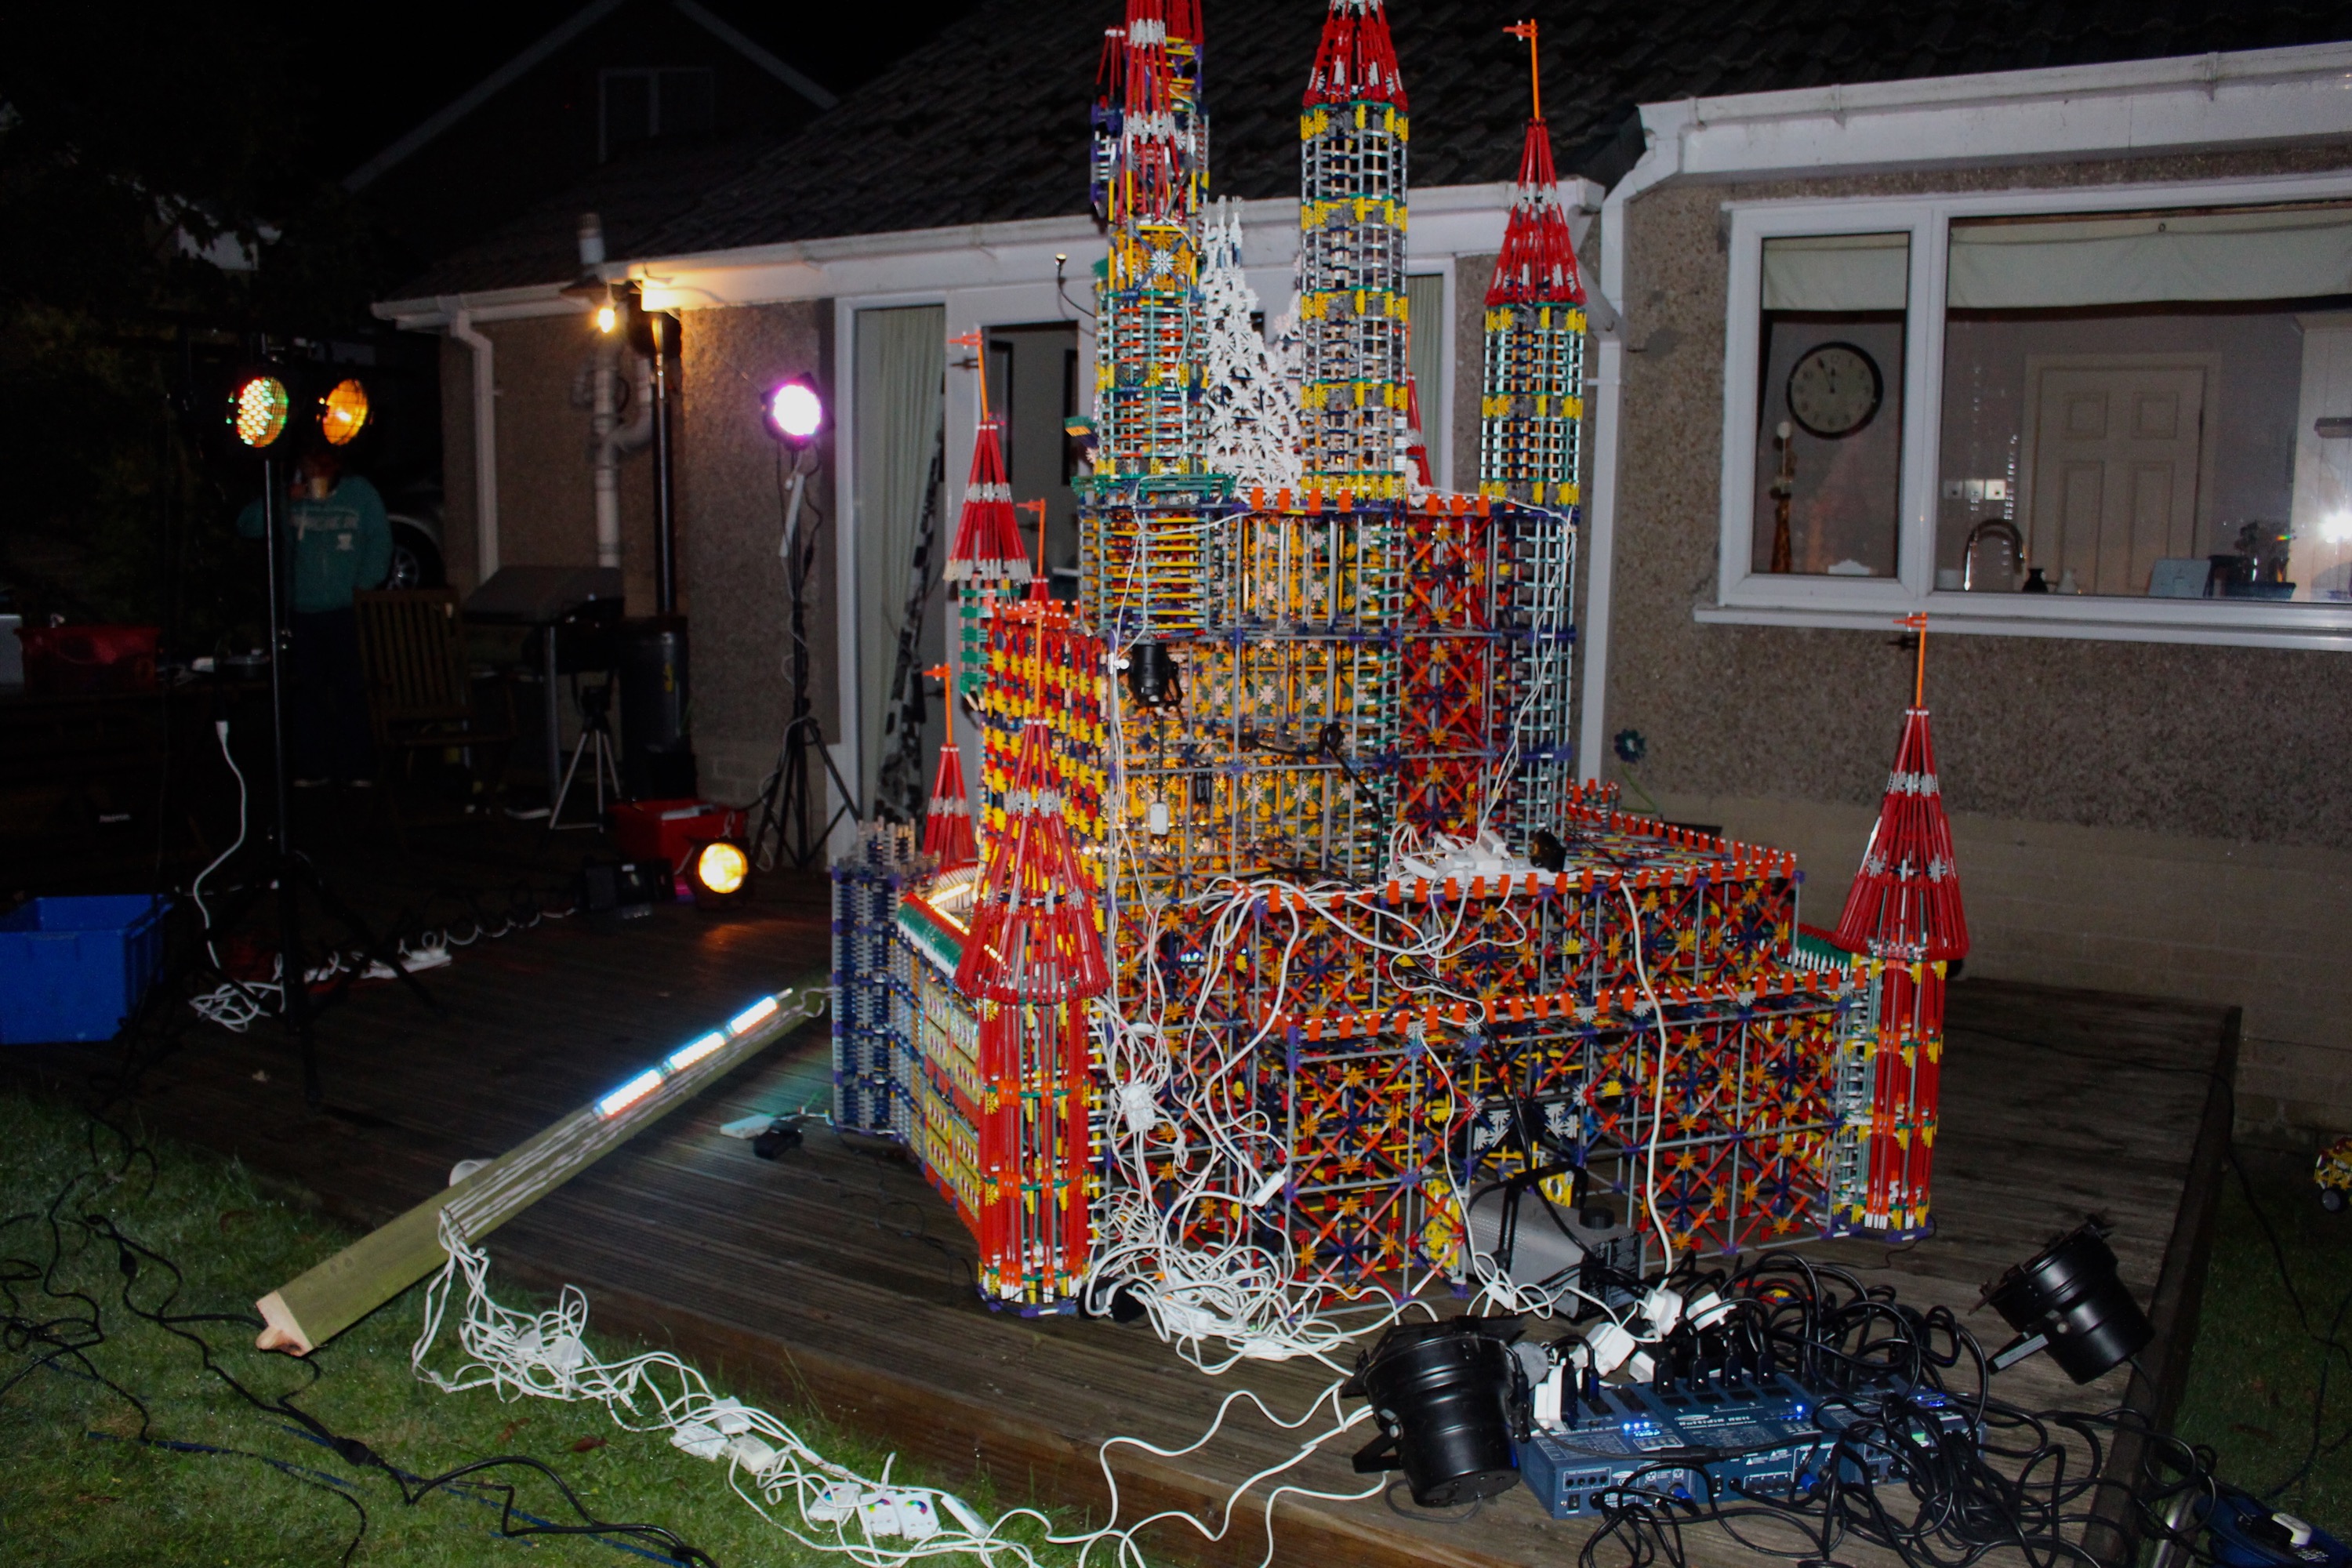
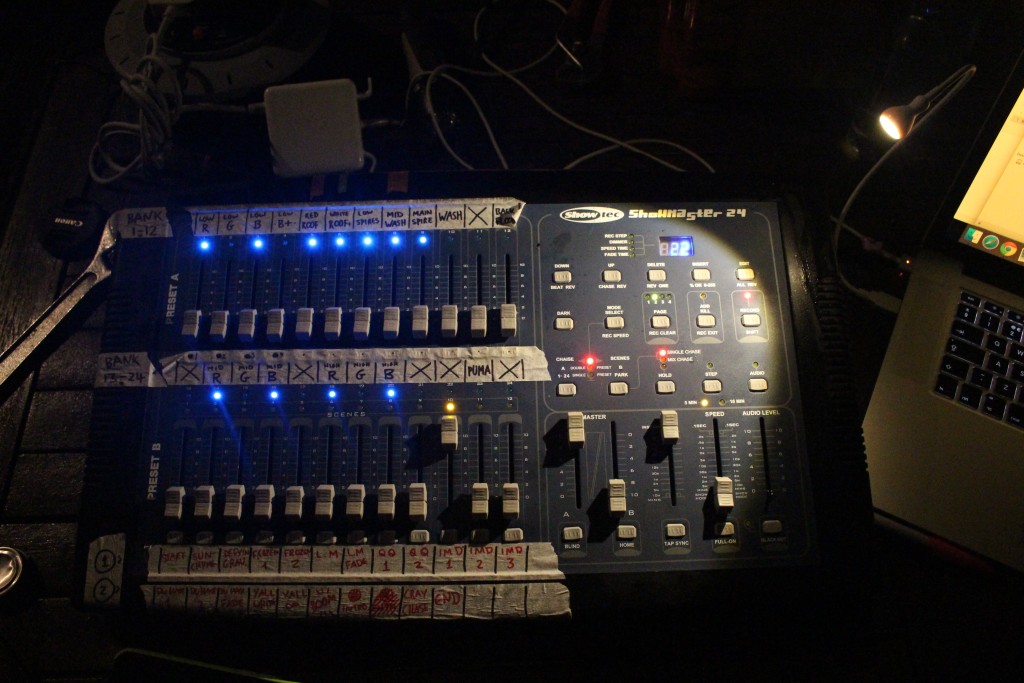
So (and pardon the technical details here), the bulk of the lighting you see used was actually just IKEA’s LED “Dioder” range which I modified to be controlled by a series of DMX connected dimmers, which were accompanied by other speciality DMX driven stage lighting fixtures. For those not in the know, DMX is a protocol/system used in stage and theatre lighting to control all the lighting from a central control desk…
The lighting fixtures and their dozens of metres of accompanying cable were installed in the castle by myself throughout the afternoon, and all eventually connected to the lighting desk above. I had sat down and drawn up technical and wiring diagrams beforehand, so the system was already designed for a quick install.
All cables were routed through the castle to its rear, where we also installed a smoke machine for a pyrotechnic twist, and two floodlights for an eerie backlit effect for certain segments.
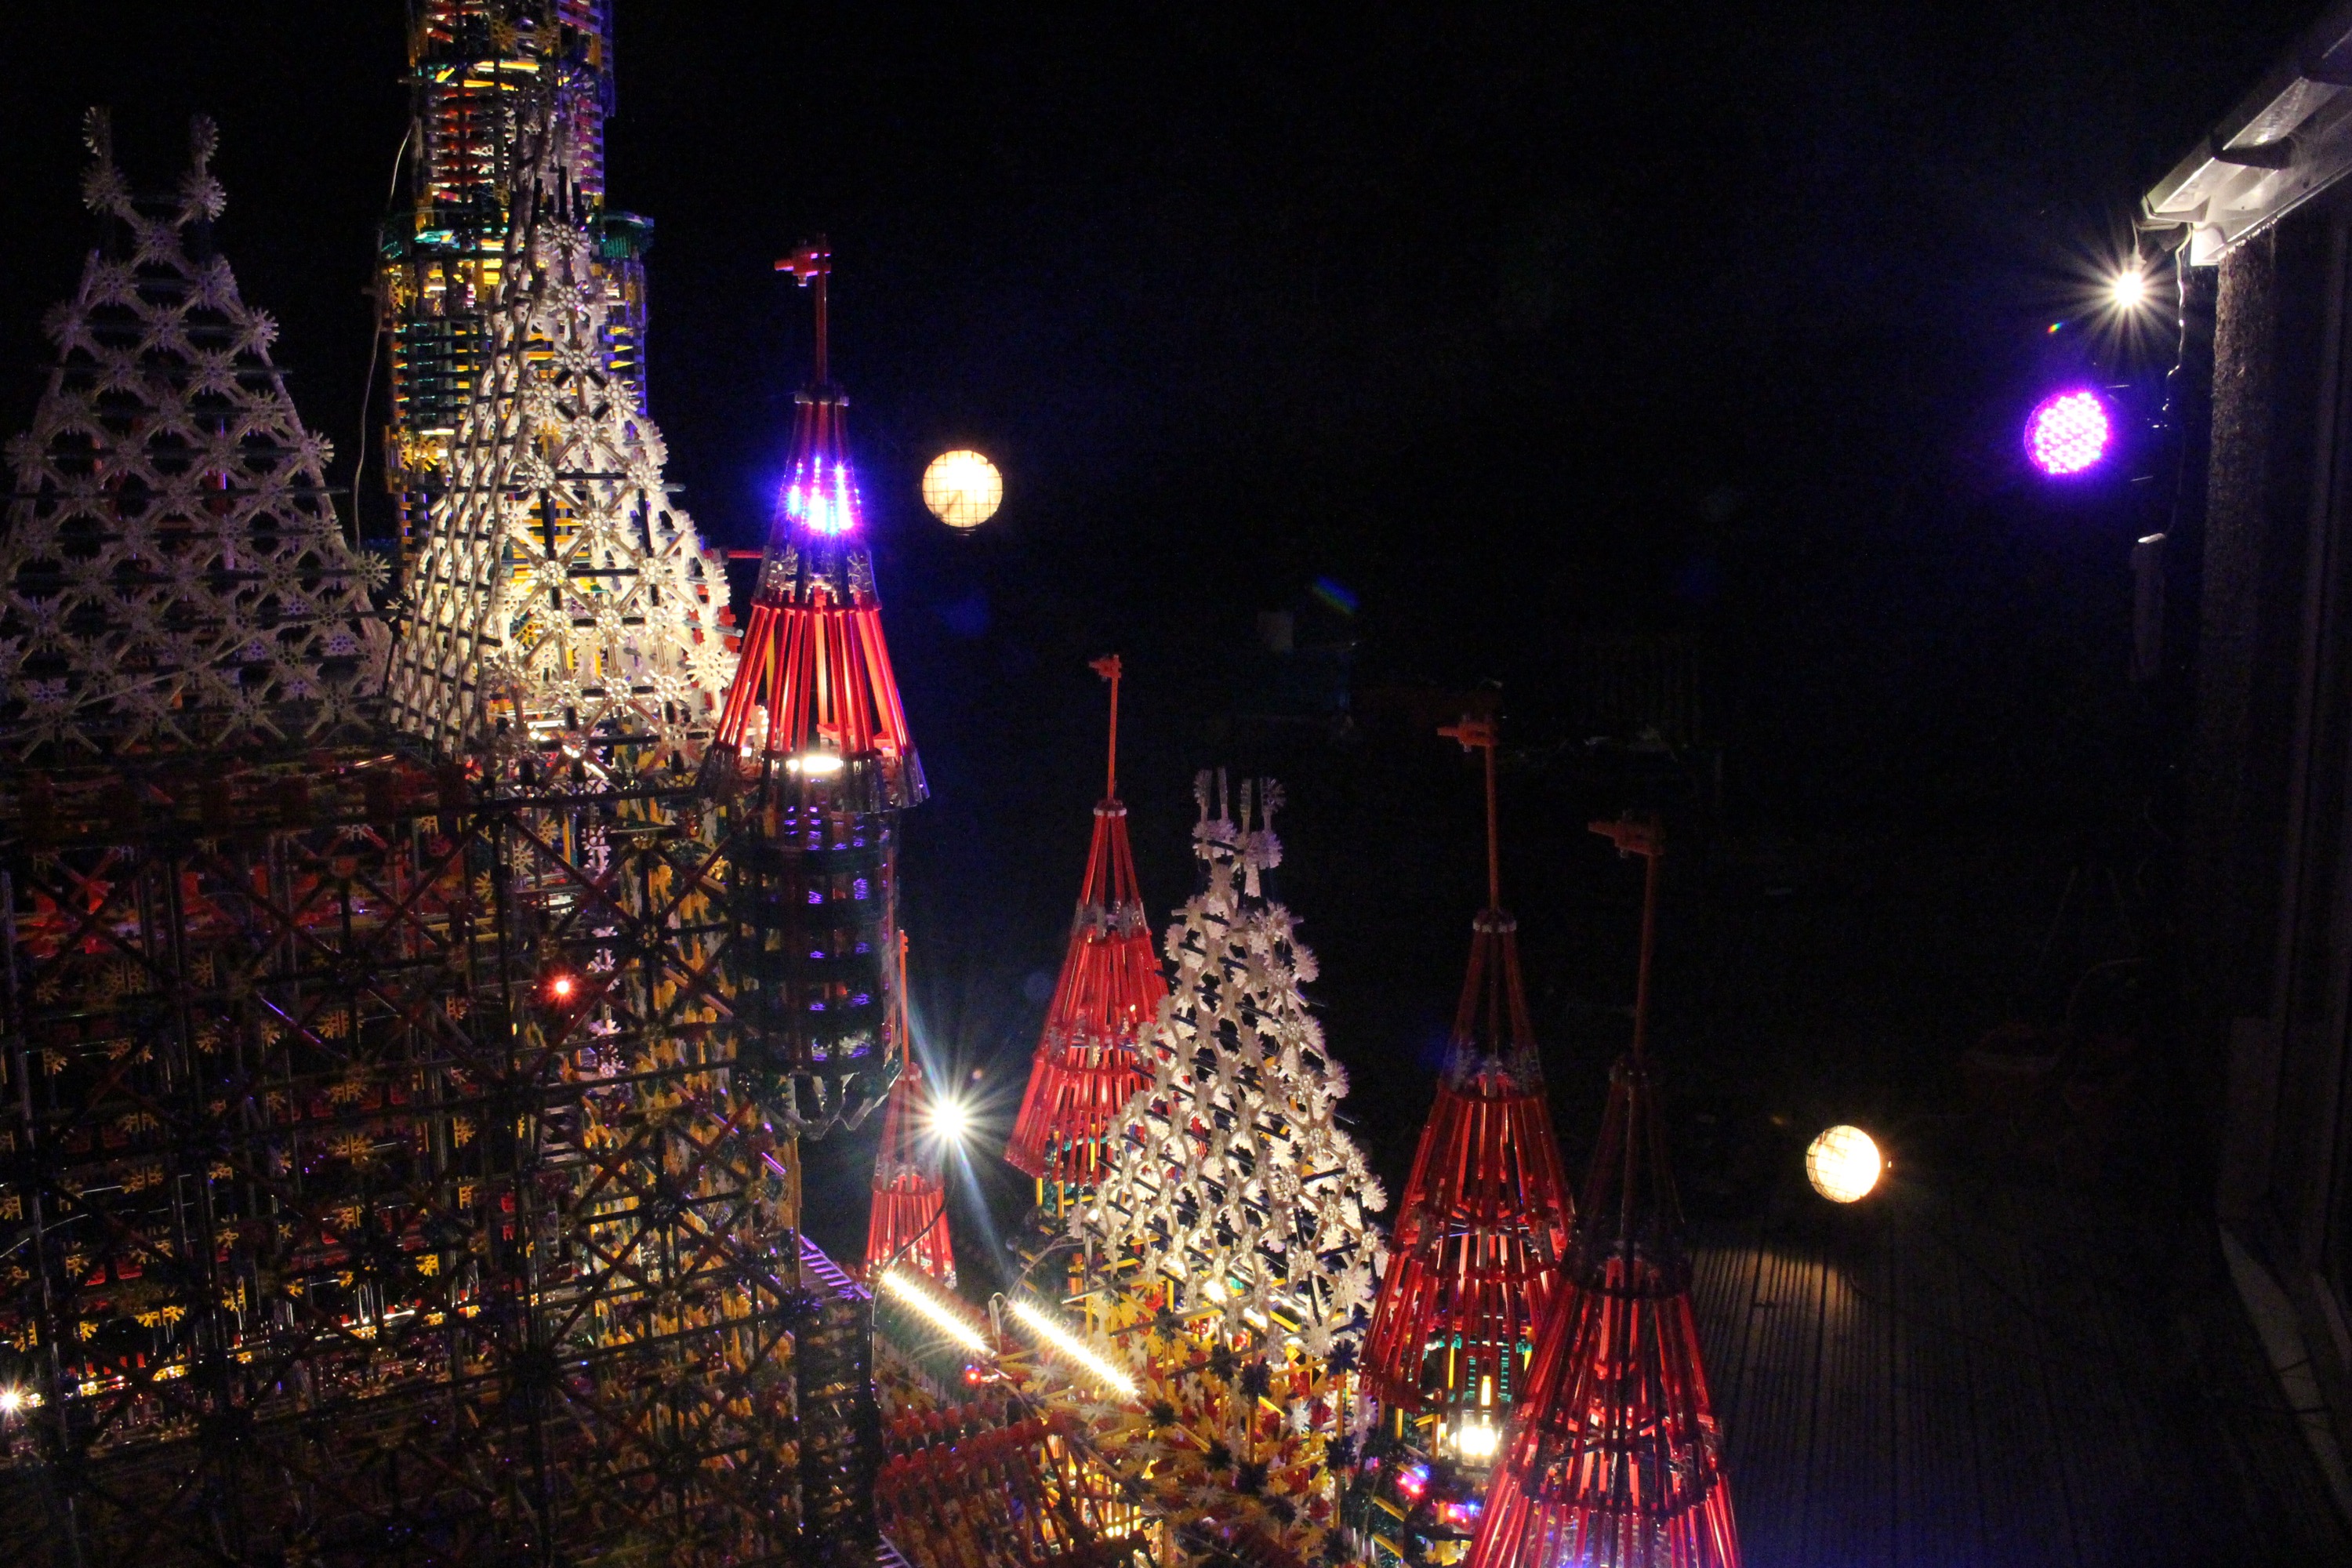
Other lighting installed included:
- Front flood lights
- Lower level red/green/blue LED strips
- Mid and upper level red/green/blue LED floodlights
- White mid level LED strips
- Small spotlights under each spire roof
- Large spotlights under the the two large spires
- Large spotlights inside the two front turrets
- Small spotlights on the three small turrets
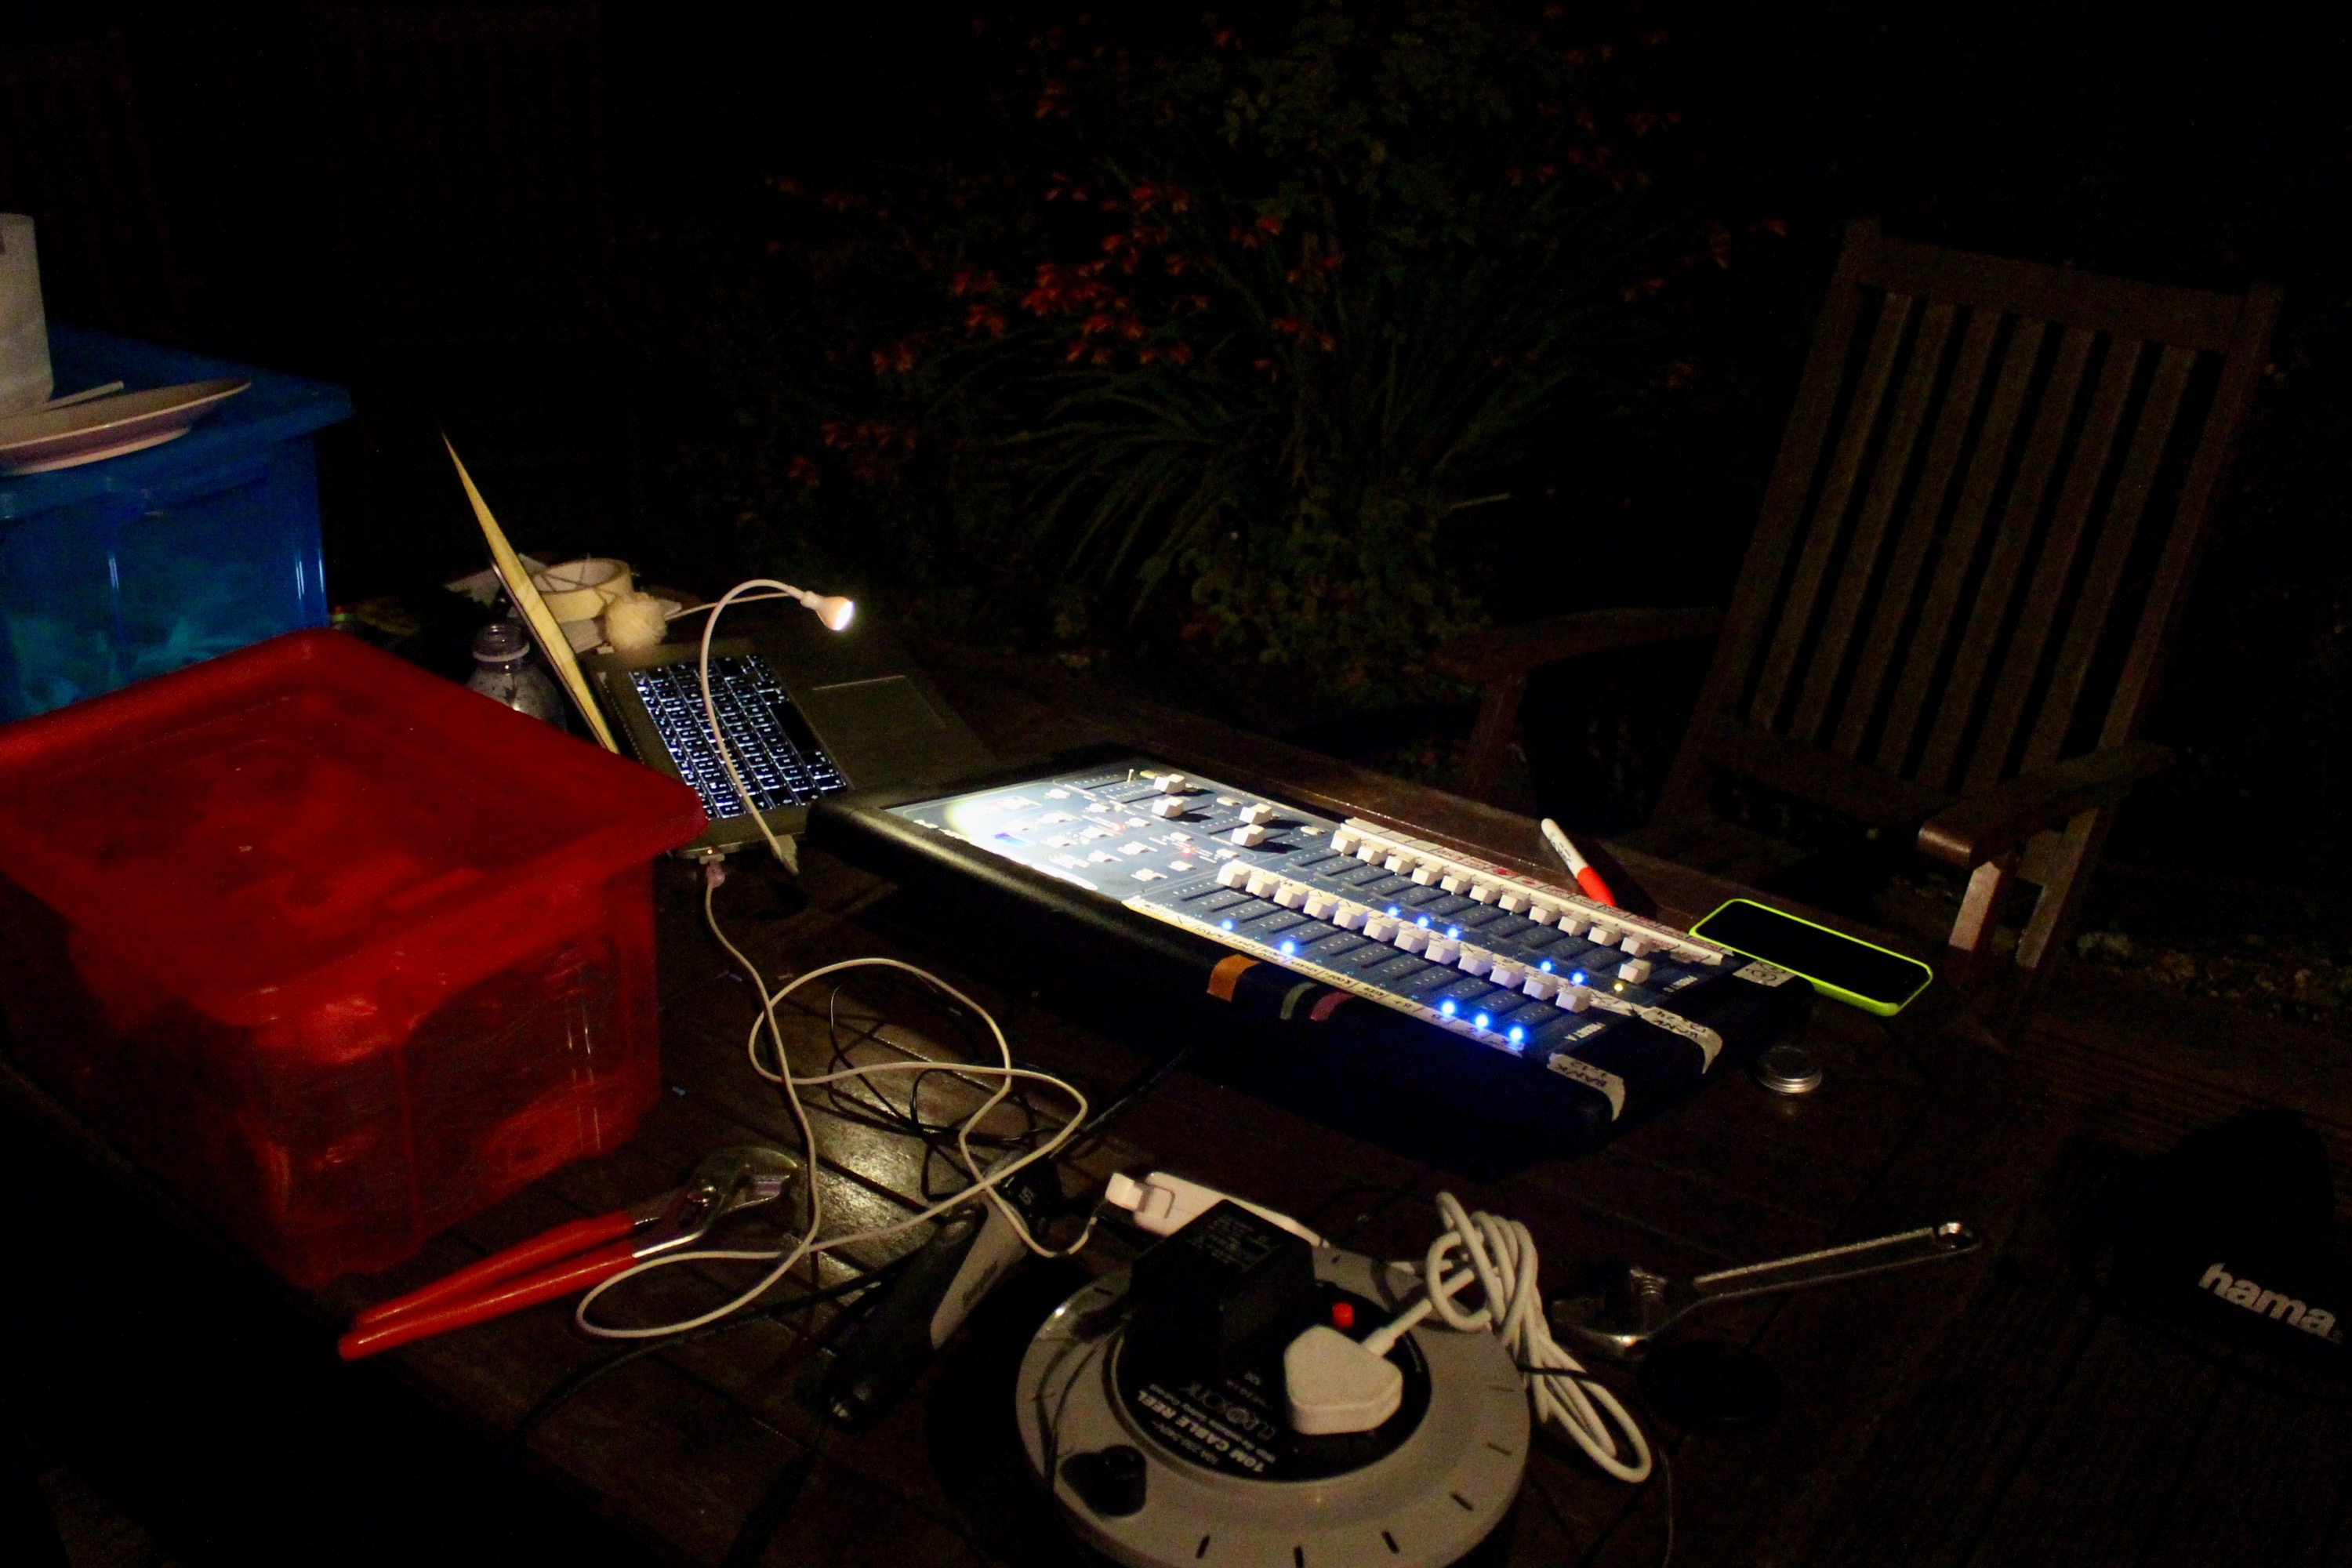
Each of these different lighting types had its own “channel” on the lighting desk, which means that I could control each type of lighting separately. With a full desk of 48 channels, the lighting design I drew up provided a wide scope for different effects!
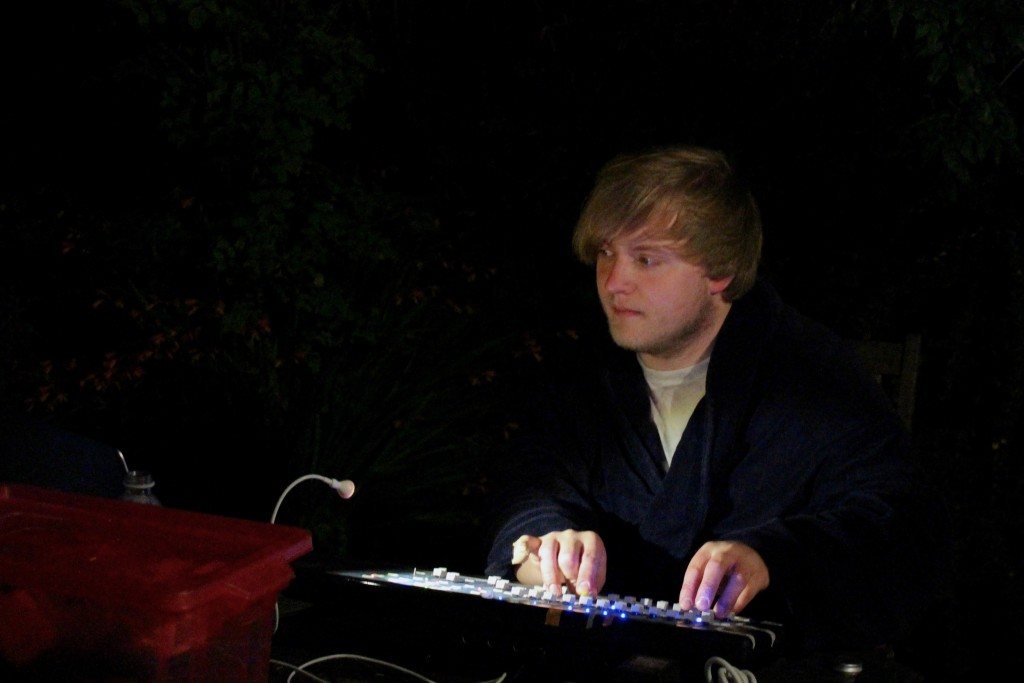
Once the lighting was installed, it was time to wait for sunset and begin programming “presets”, which is basically one chase sequence of lights. We used 2 – 4 presets for each song in the sequence, and all the switching, speed adjustments and manual sequential lighting changes were done live by myself. Here’s photographic proof…
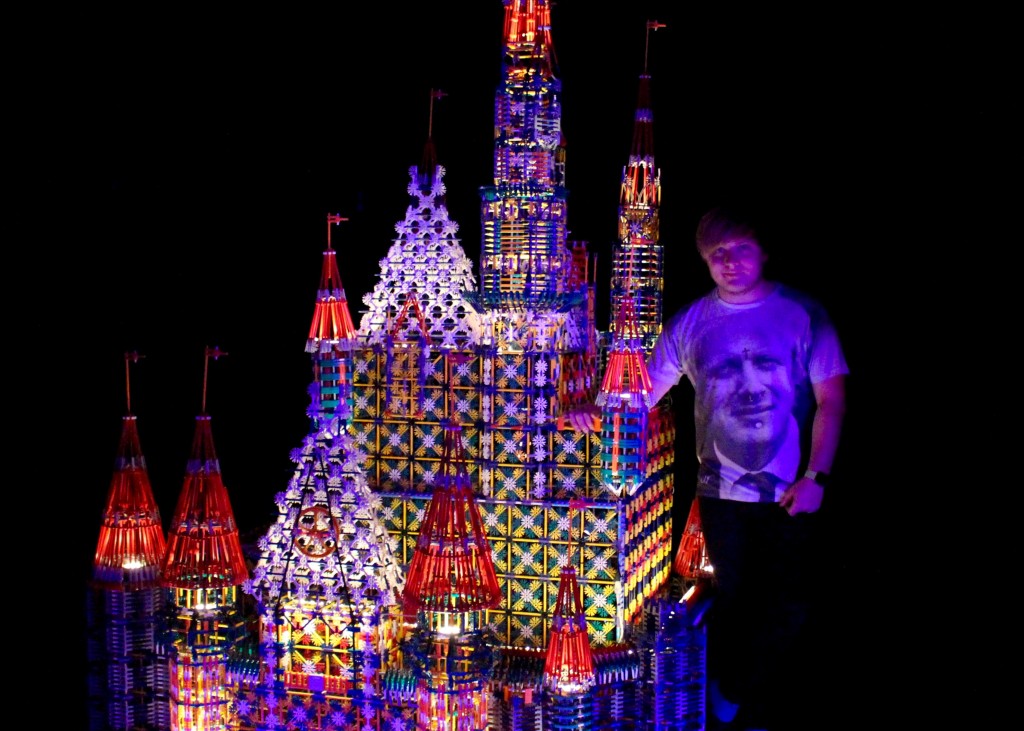
Once I’d set up, focussed and began filming on my camera, it took us five run-throughs to get the final shot in the bag (like I said, no camera or editing trickery involved), and by the time we’d finished it was 1am! Time for a photo alongside the castle for size comparison…
Then came the ghastly task of cleaning up the jumble of cables, very securely fasted lights and other nonsense that had accumulated over the day’s preparations and filming, all before the dew of the early hours set in and began to ruin my collection of lighting!
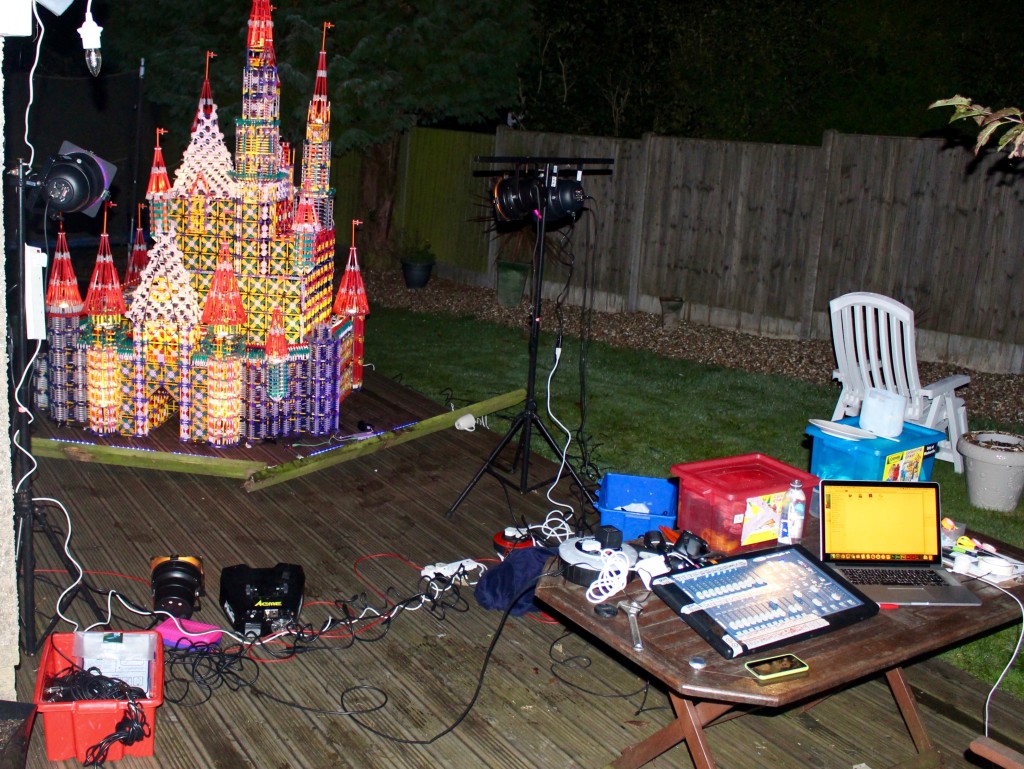
So there you have it – that’s how you illuminate and film a mini light show on a 12ft castle in your back garden. Don’t try this at home. No, seriously, don’t – I was exhausted the day after, and the music mix I created days before filming will be stuck in my head until the day I die.
Note to self: try not to end blog posts talking about death. Anyway – I hope you enjoyed seeing how it was all done! If you have any more questions or just want to get chatting, drop me an email using the link now at the bottom of the page!